Wizelaw WordPress Theme
Introduction
- Item Name : Wizelaw WordPress Theme
- Author : GT3themes
- Support Forum : http://forums.gt3themes.com/
Thanks for purchasing this theme. If you have any questions that are beyond the scope of this help file, please feel free to submit your request to support forum. Also you can find a lot of useful information right there. Thanks so much!
This documentation is to help you regarding each step theme setup. Please go through the documentation carefully to understand theme structure and pages building, and how to edit this properly.
Requirements
You will need the following sofwares to customize this template.
- Web Browser for testing (eg: Google Chrome, Safari or Mozilla Firefox)
- FTP Tool to upload files to Server (eg: FileZilla)
No support is provided for faulty customization.
Theme Installation #back to top
There are several ways to install wp themes, we do prefer using FTP but you can choose other ways.
Please read more about theme installation on the official website at http://codex.wordpress.org/Using_Themes.
Upload via FTP:
- Step 1 - please unzip the installable zip file that you downloaded from ThemeForest (wizelaw.zip).
- Step 2 - upload "wizelaw" theme folder to the theme directory of your WordPress via ftp.
- Step 3 - log into your WordPress admin dashboard and activate "Wizelaw" theme in the Appearance => Themes section.
- Step 4 - after succesfull theme activation you will be automatocally redirected to the Wizelaw WordPress theme settings.
- Step 5 - at the top of the page you will see the message 'This theme requires the following plugins: GT3 Wize Law Core and WPBakery Visual Composer. This theme recommends the following plugins: Contact Form 7, GT3 Photo & Video Gallery, Instagram Feed and Revolution Slider.' => click the link and follow the steps.
Theme Options Panel Overview #back to top
This theme comes with its own theme options panel. You can manage general theme settings panel in WordPress Dashboard. Let's review it:
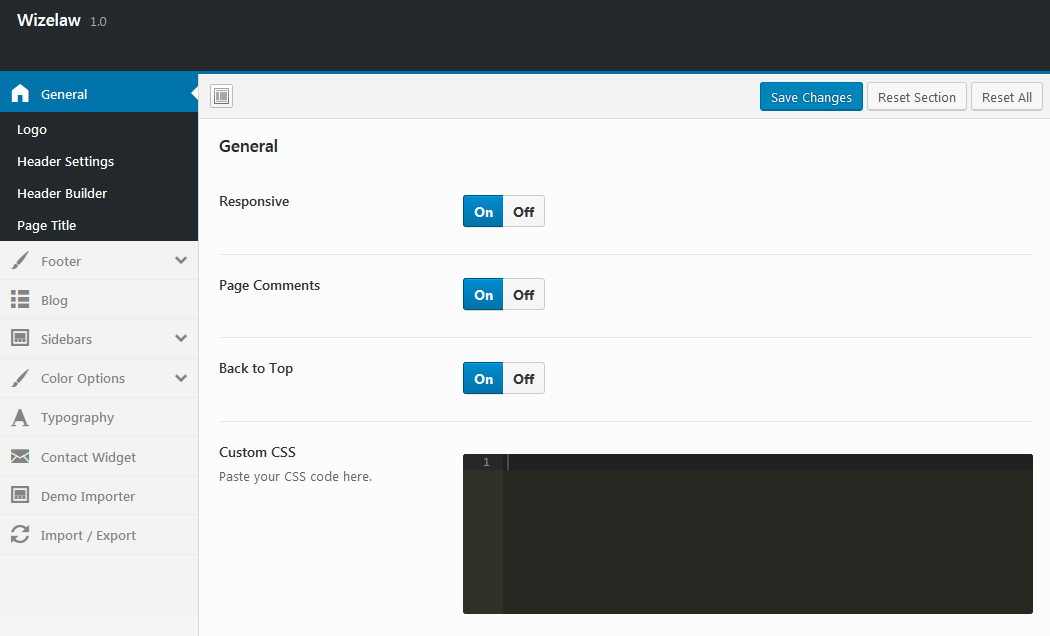
- General: right there you can set Geanaral options (Responsive, Page Comments, Back to Top, Custom JS etc.),Logo, Header Settings, Header Builder and Page Title;
- Footer: the sextion allow manage General Footer Settings, Footer content options (Full Width Footer, Footer Background Color, Footer Background Image etc.) and Copyright (Show Copyright, Copyright Editor, Copyright Title Text Align, Copyright Background Color tec.) ;
- Blog: the section provides options to manage settings globally, set Related Posts visibilty, activate/disable Post Comment, Likes on Posts and Share om Posts etc.;
- Sidebars: create unlimited custom sidebars and select page sidebar layout;
- Color Options: adjust Theme color and Body Background Color;
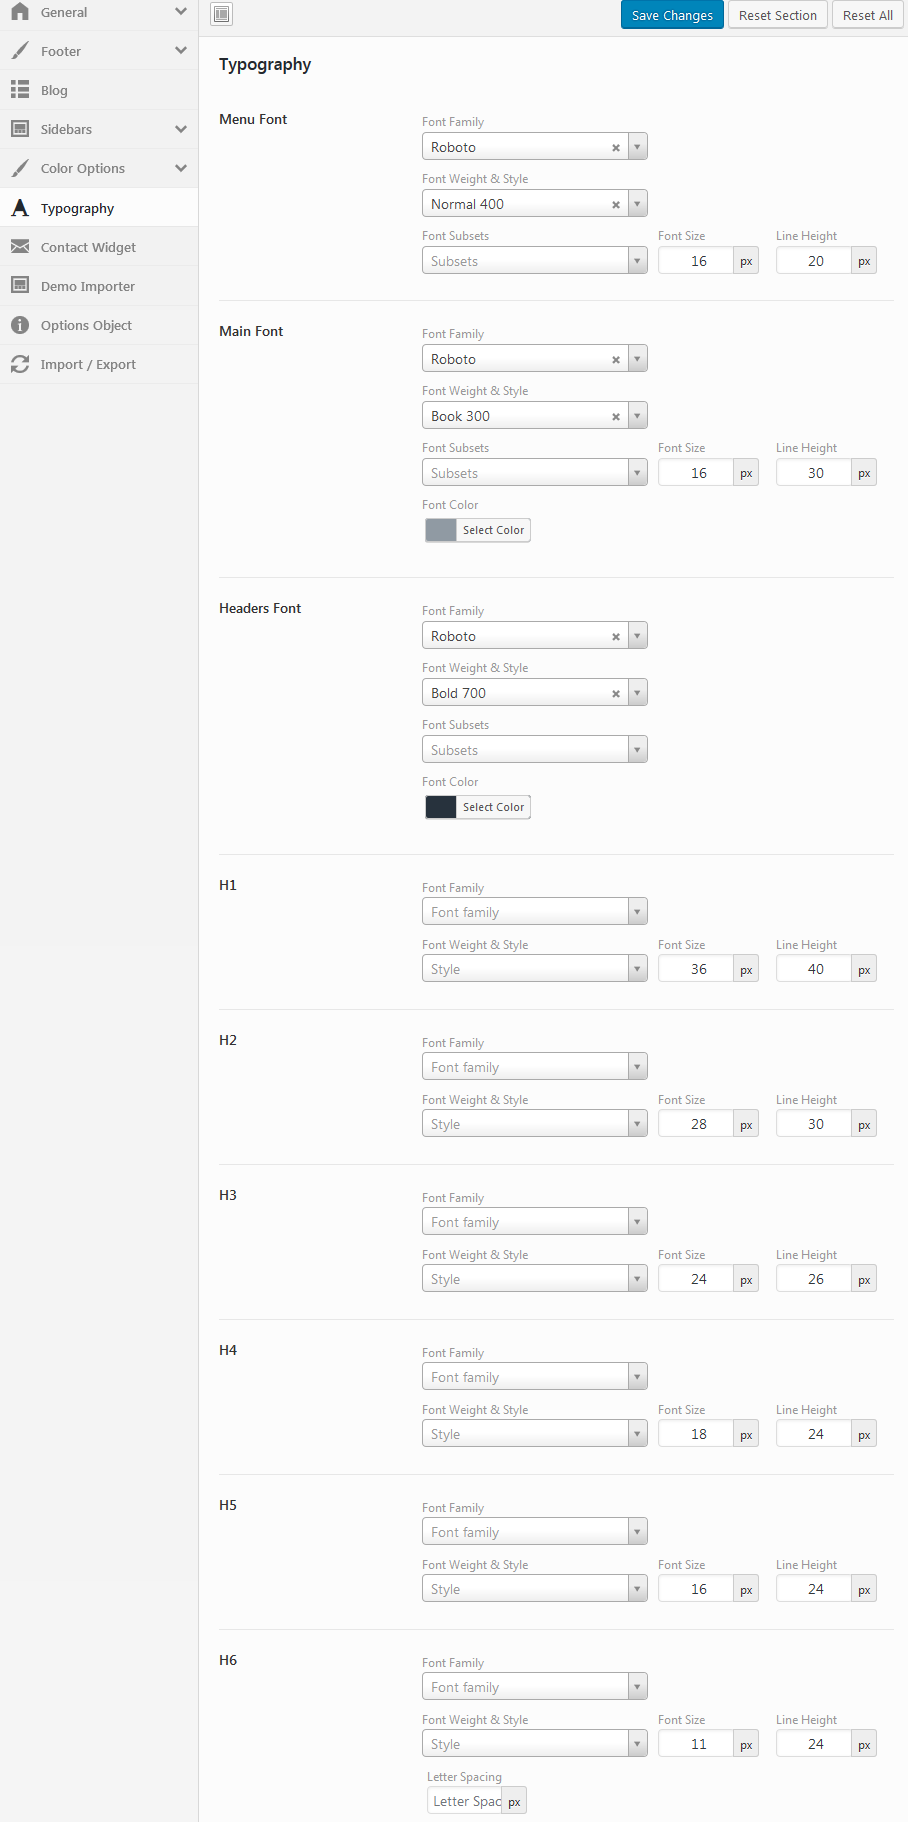
- Typography: the themes uses google web fonts,please choose the desired font from the drop down menu for content fonts, typograpy H1, H2, H3, H4, H5,H6 and set Font Weight & Style, Height, Size etc.;
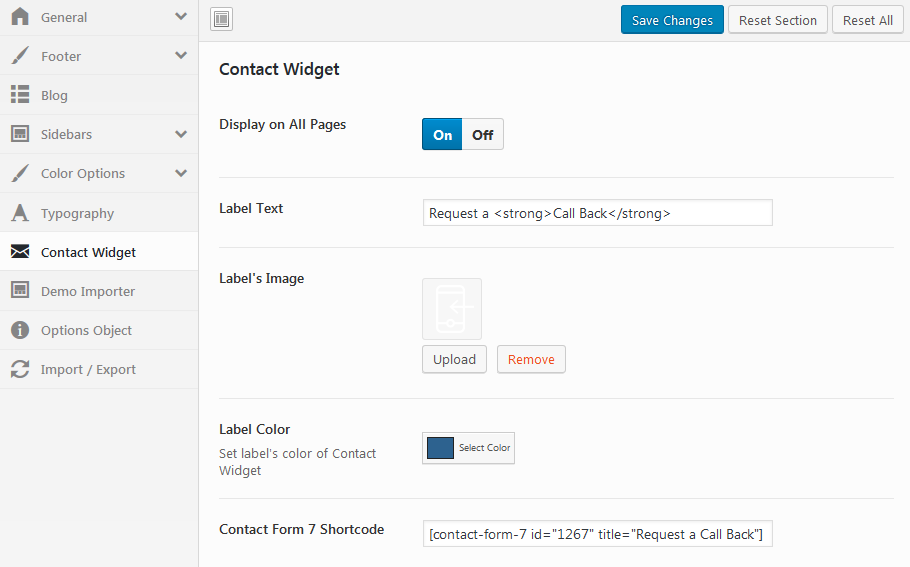
- Contact Widget: select contacts details that will display on pages(Display on All Pages ON/OFF, Label Text, Image, Contact Form 7 Shortcode etc);
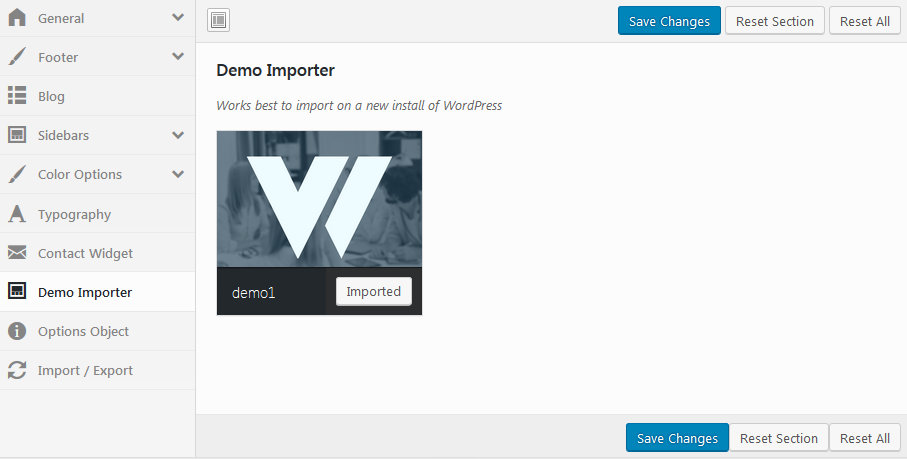
- Demo importer: simply import a demo content to easy your website building;
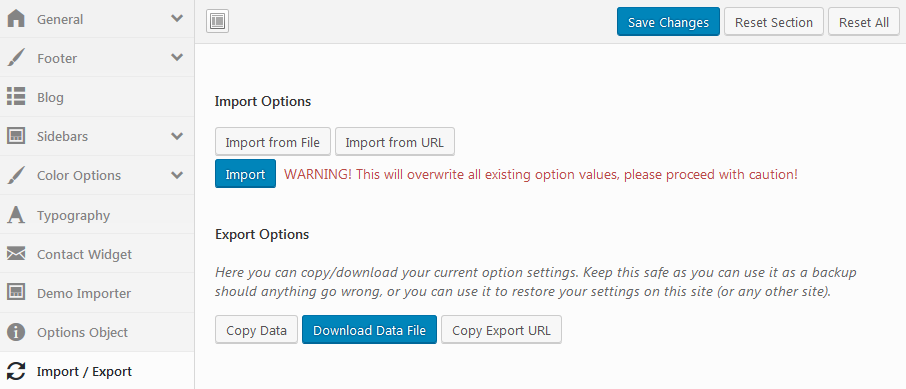
- Import/Export: copy/download your current option settings. Keep this safe as you can use it as a backup should anything go wrong, or you can use it to restore your settings on this site (or any other site).
General - #back to top
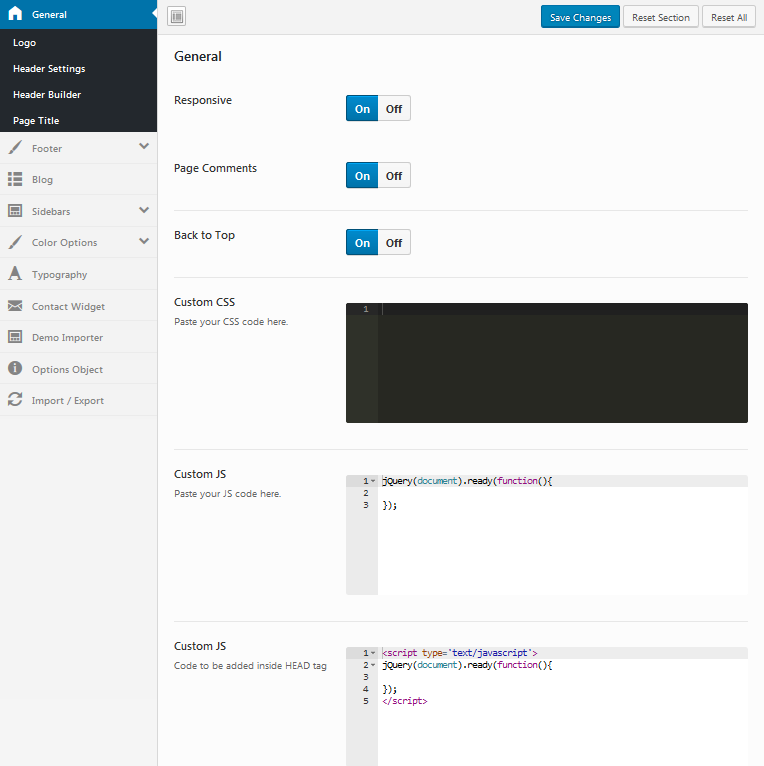
General section contains a lot fields that allow to set global settings. The Responsive option can help you to disable or enable responsive mode, if you don't want to use it on mobile devices please set NO. The Page Comments option will disable or enable comments form on all pages. The Back to Top is the optional button that is located in the bottom right corner of the page, you can it set ON/OFF. Custom CSS field is the area where you can put you css styles, all the ones will be saved after theme update. If you want to put own js code to the theme, please use Custom JS area. The Code will be added inside HEAD tag.
Logo area gives opportunity to upload own image. If you enabled Logo Height, below will be activated special field to set custom Height. The Sticky menu area also contains logo, you can change it easily by uploading own image in Sticky logo area. The Mobile mode can also display other logo image if you will upoload it to Mobile logo area.
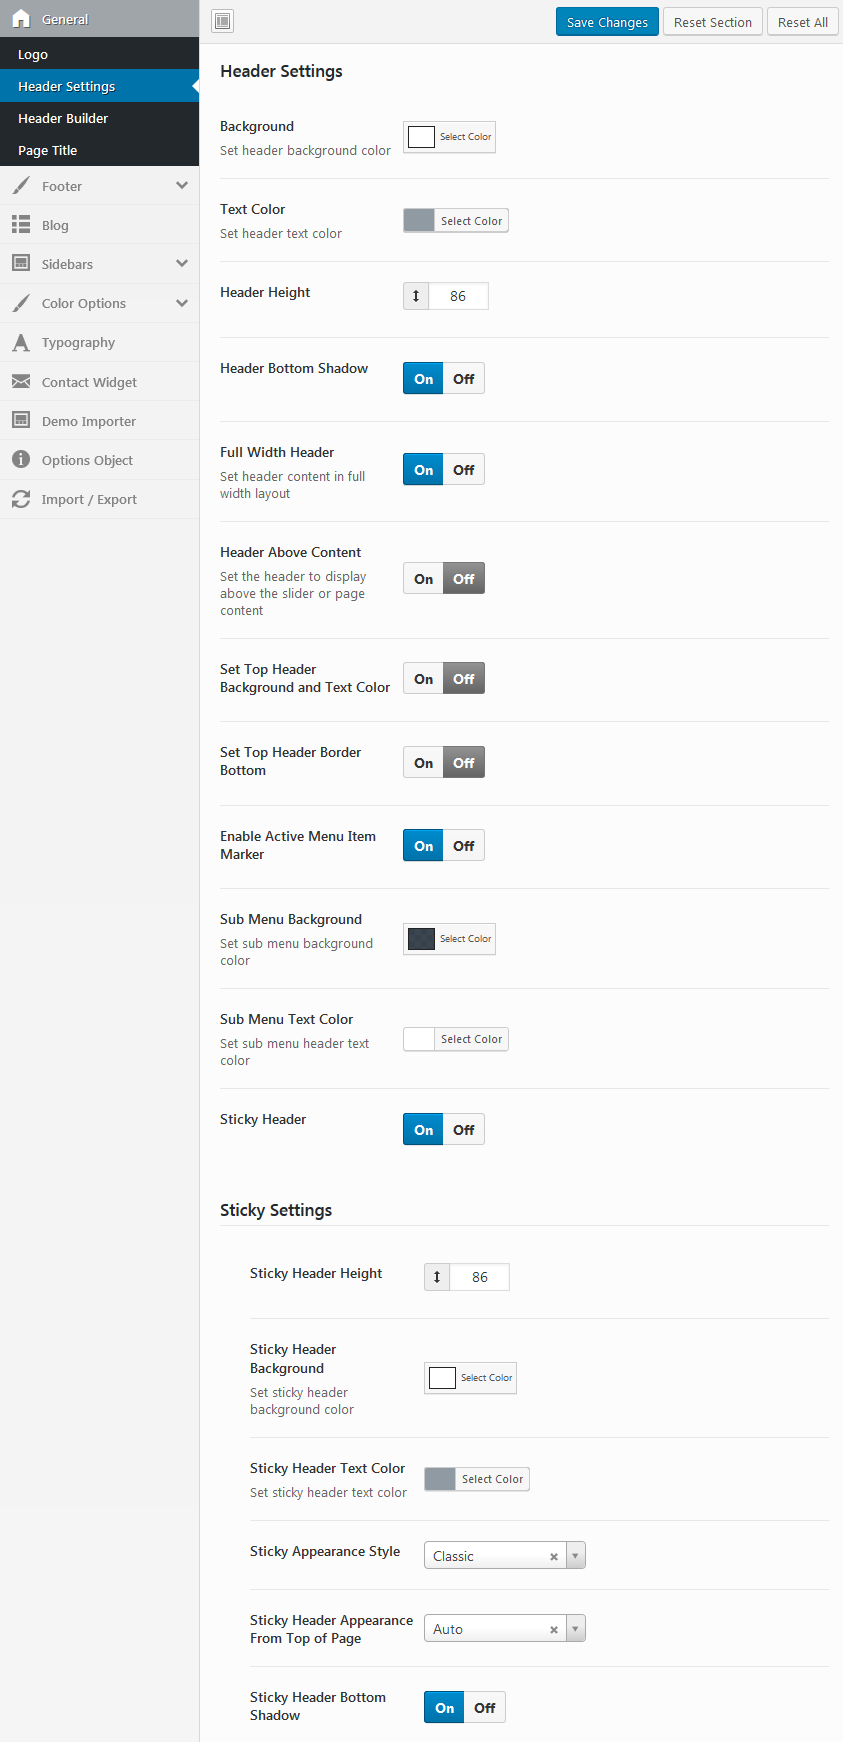
Header Settings section contains different options to create header according any needs and requirements. Background option can help you to set custom background color. Text Colors of all elements you can select in Text Color option. Header Height can be set easily in the special field and bewlo you can set ON/OFF Header Bottom Shadow. If you need to set header content in full width layout use Header Fullwidth option.There are a lot additional settings that will help you to setup Top Header details, Sub Menu Background, Sticky header etc.
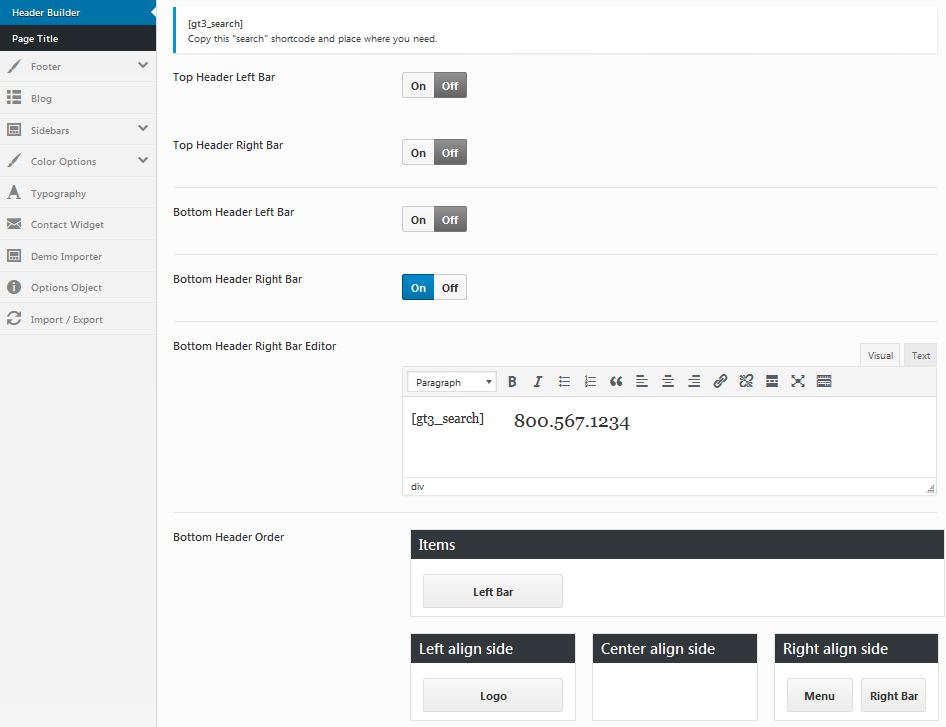
Header Builder is the area allowing you to modify website header using available options. An instant search facility is deployed by placing a simple shortcode [gt3_search]. Copy this "search" shortcode and place where you need. The theme has top and botton header bars, that divided on top/bottom left/right areas. Every one has text editor that provides area for text. Organize the header layout using special builder area.
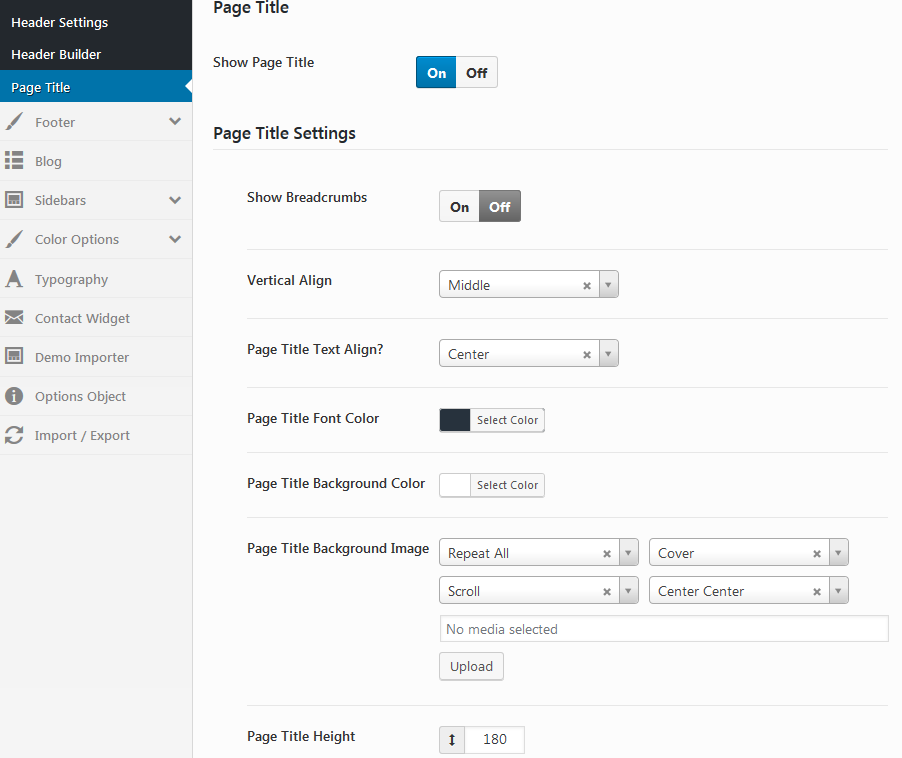
Page Title - theme options has the section where located all the options to set the title style globally. The first option that presented on the Page is ON/OFF the title globally. All other settings allow to show/hide breadcrumbs, to set vertical aling in the title area, page title text align, font color, title are background color. You will find special area to upload title background image. If your image small or you use pattern, please set repeat all. You can easily play with the settings variants and set the header height.
Footer - #back to top
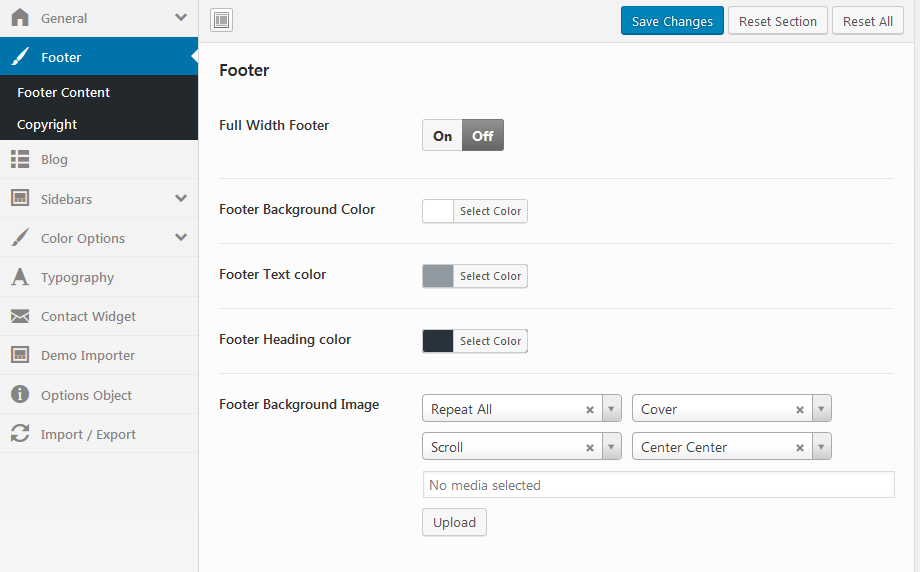
The website footer area is fully customizable. All the elements can be changes easily. If you want to use Fullwidth footer simply enable it in a special option. Background, Text, Heading colors options can be changed there too. You can replace footer color with own image and set it according your needs using settings in footer area.
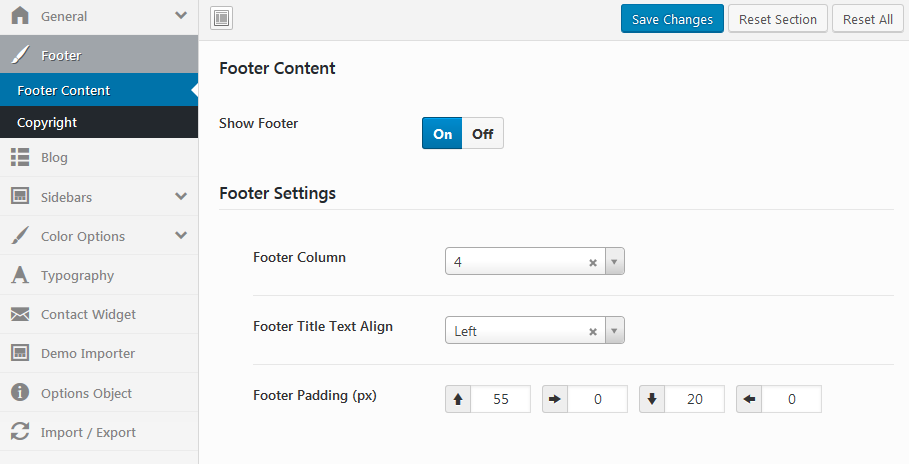
Footer Content is a section created to change your details in few steps. Ensure the Foorter is set On. Please select footer columns number. It will be divided on 1,2,3 or 4 columns. Set the Footer Title Text Align. The padding can be managed in Footer Padding (px) options.
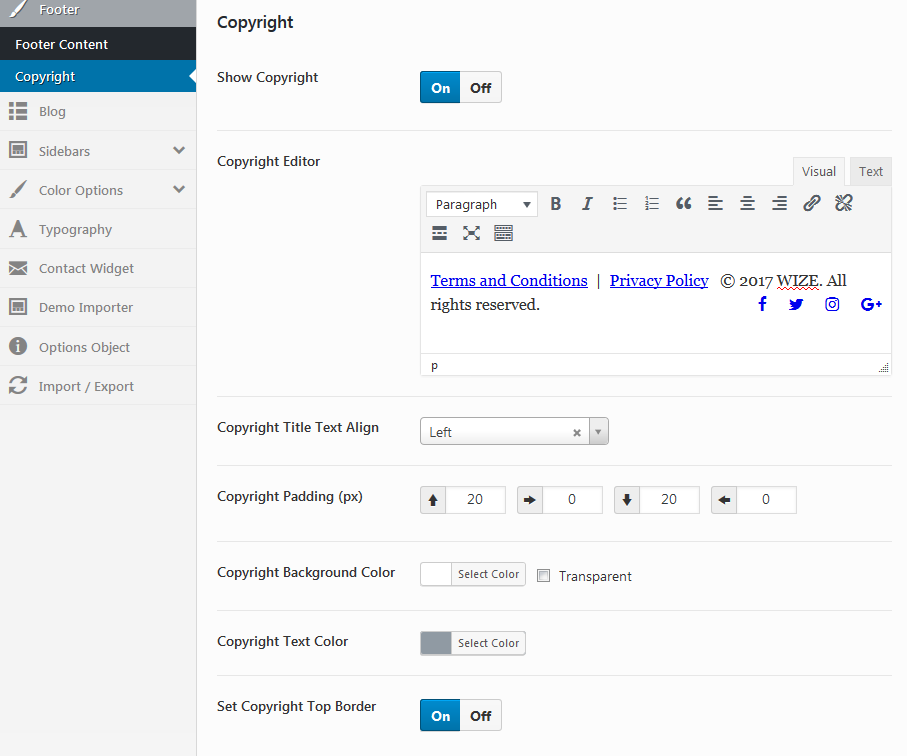
Copyright can be activated or disabled globally, turn ON/OFF. Use Copyright editor to add a copyright text. If text already added the text align, padding, background and text colors, border activation and color can be set below.
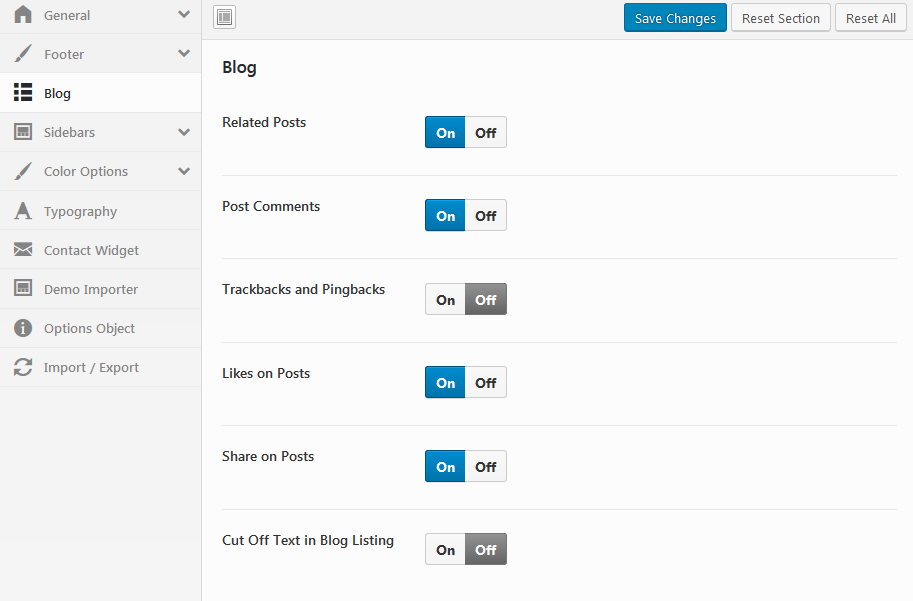
Blog - #back to top
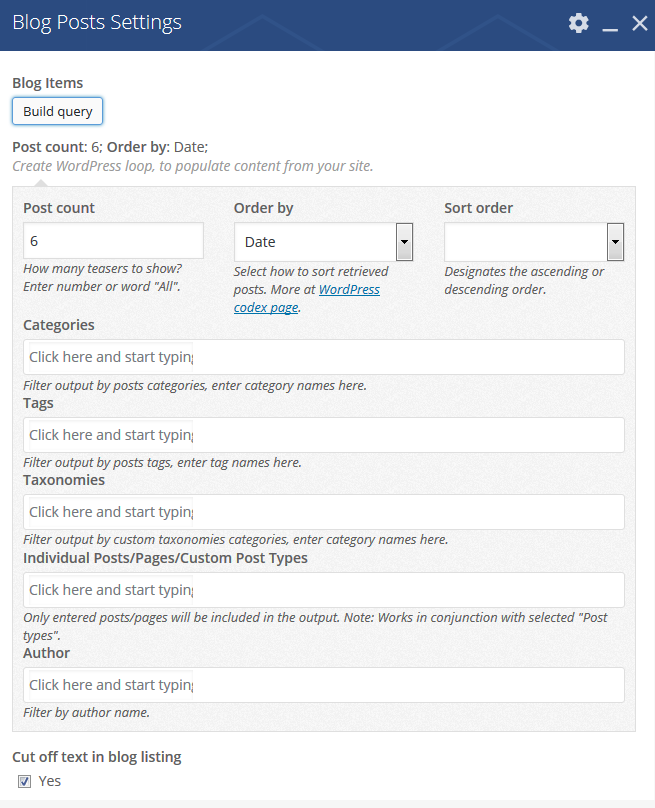
On this page we’re going to walk through all settings available to Blog. Related Posts option activates posts that can be related to the one you read. Post Comments - choose to ON/OFF the comments area on posts. You can easily disable Trackbacks and Pingbacks on individual posts. Likes and Share on Posts can be activated or disabled in few clicks. If you don't want to display full description in blog listing use Cut Off Text option.
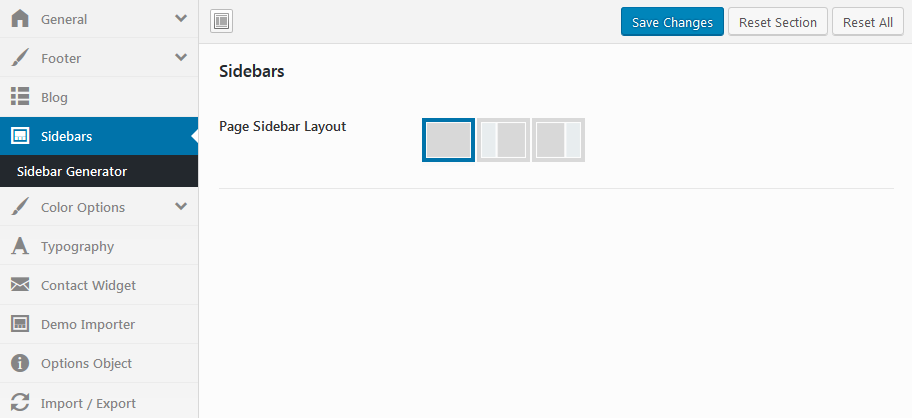
Sidebars - #back to top
Sidebars is the area where you can set the main layout for pages: without sidebar, left or right. And after you will choose the layout set the page sidebar.
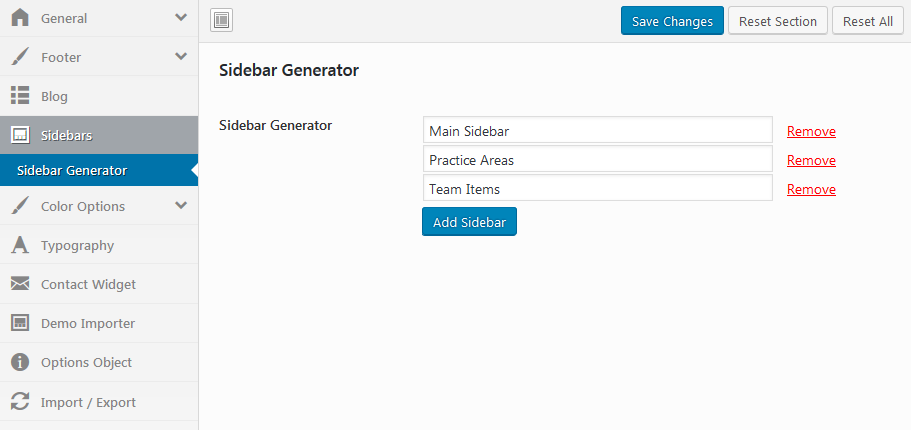
Sidebar Generator simply use the option to create as many custom sidebars as you need.
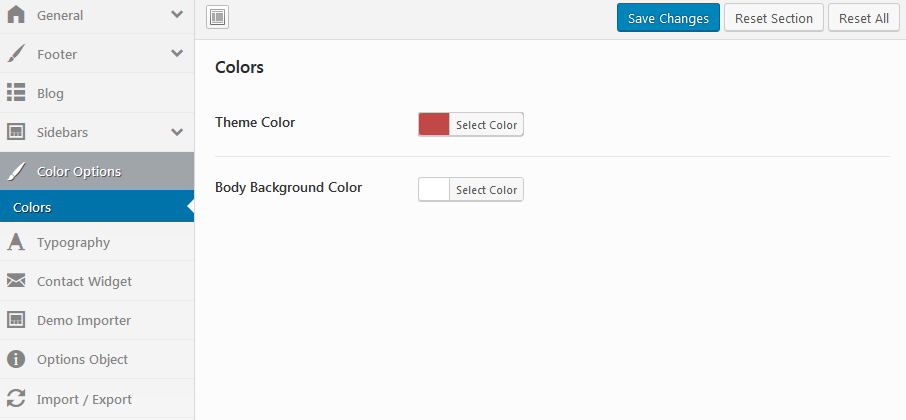
Color Options - #back to top
The area provides options to change the main theme colors and body backgrounds.
Typography - #back to top
Improve your theme typography with: font-family, subsets, font-size, line-height, letter-spacing, color and text-align and text-transform. All the options can be set for Menu, Main and Header Fonts. You can set up all available headings: H1, H2, H3,H4, H5, H6.
Contact Widget - #back to top
Add a contact form to your website to communicate with customers. Invite them to send ideas and suggestions, ask questions or place orders via the form. Use option to ON/OFF it on pages. Set the label text, upload an image, set the color and Contact Form 7 Shortcode.
Demo Importer - #back to top
There is special button to upload demo content to your theme installation. By clicking "Import Demo" you agree that those images will be downloaded to your website server from our demo website and you take full responsibility for their usage. We recommend you to replace the downloaded images with your own ones and then delete them from your server.
Import/Export - #back to top
If you plan to transfer website to other folder or hosting, please use this option to copy/download your current option settings.
Import Demo content #back to top
To import the demo content, please go to Theme Options => Demo Importer. Use the "Import Demo" button to upload the content. The percentage strip will display the Import Process.

Page Options #back to top
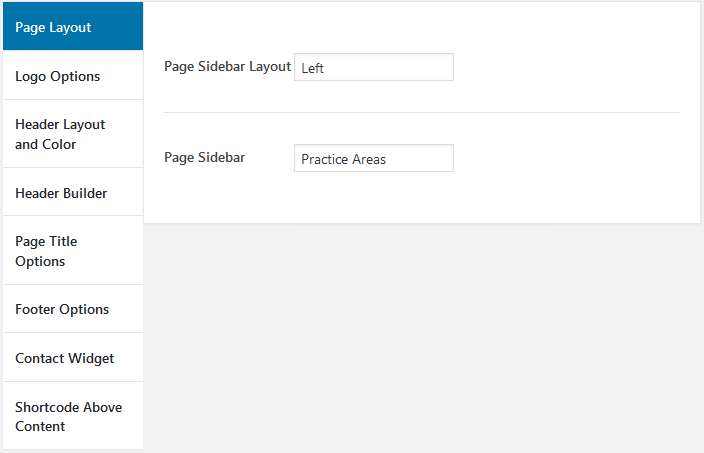
Every single page has own Page Options, you can use general ones provided in Theme options or set specific ones for every page. Please go to Pages => Add New. If you will scroll down there presented the following page options:
- Page Layout: select Page Sidebar Layout;
- Logo Options: select default or uplod new page logo, Enable Logo Height, set Sticky Logo and Mobile one;
- Header Layout and Color: the section provides options to select header, Color, Opacity, Header Height etc.;
- Header Builder: all options to create a custom header for specific page;
- Page Title Options: adjust Title Alignment, show Page title or not, Font color and Bckgrount etc.;
- Footer Options: show or hide footer options, set Footer columns, Paddings, Colors, Image etc.;
- Contact Widget: option to ON/OFF widget;
- Shortcode Above Content: set a custom shortcode;
Theme Menu Setup and Front Page Settings #back to top

Theme Menu Setup
- Menu Setup - Please go to Appearance=> Menus=> Edit Menus=> create a new menu by adding required pages=> click Save Menu button.
- To activate main menu - Please go to Appearance=> Menus=> Manage Locations and choose from the drop down list "Main" menu from the proposed menu items(menus will be available only if you imported the demo content) or select the created one, click save changes.
After that, you can edit your menu items in the "Edit Menus" tab.

Front Page
- Set the page for the front page - Please go to Settings=> Reading => Front page displays => A static page (select below) set the page for the front page and save changes.
Logo Setup#back to top
To change the current existing logo, please go to Theme Options => Genaral => Logo section. Use the "upload image" option in Header Logo field to upload your own image. Once the logo is uploaded, please enable Logo Height ON/OFF, set Logo Height, upload Sticky Logo and Mobile one.
WPBakery Visual Composer #back to top
This WordPress theme comes with the Visual Composer plugin, which allows you to create custom page layouts with ease.
You don't need to install Visual Composer plugin, please install the one suggested by the top notification. Here is the overview of all available features that are available with Wizelaw theme too.
Product documentation is available online here.
GT3 Modules in Visual Composer#back to top
The theme provides additional elements in Visual Composer that calls GT3 Modules. There are 14 unique ones provided only with the Wizelaw theme:
- Blog Posts - display blog posts from different categories;
- Counter - display any details that can be count;
- Featured Blog Posts - display featured blog posts;
- GT3 Carousel - display carousel;
- Price Block - create price tables;
- Team - display selected team members from existing list;
- Testimonials - display the selected testimonials from existing list;
- Icon Box - display icon boxes;
- Message Box - display message boxes;
- Button - display custom buttons;
- Custom Text - add custom text;
- Process Bar - display process bar;
- Countdown - display countdown details;
- Video Popup - display videos using popup widget;
- Services Box - display services box;
- Image Box - display images using a box element;
- Spacing - add additional spacing;
- Practice List - display practice list.

Revolution Plugin Usage#back to top
After you’ve installed the plugin, it should add a menu item to your main WordPress dashboard. Now you can start building your sliders!
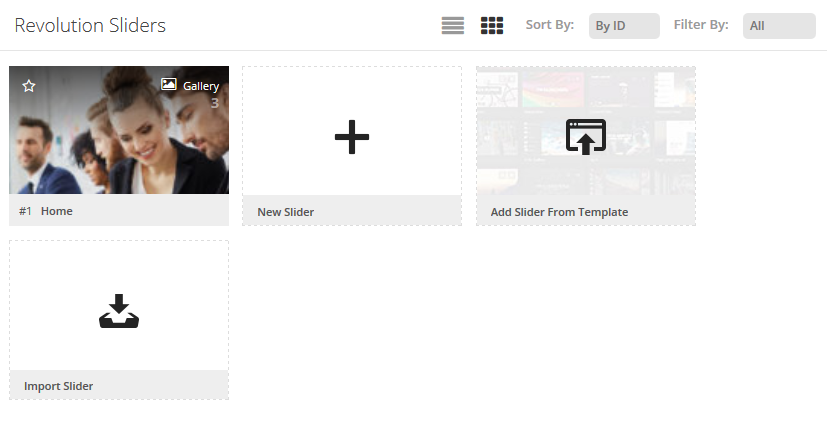
We are always trying to ease your work that's why the theme comes with the import demo sliders files. You can find them in the Import Demo/RevolutionSlider/ folder. To do the import and put the slider to the page, please follow these steps
- Step 1 - please go to Revolution Slider WP. There is an option Import Slider (see screenshot below), please choose import slider .zip package and click Import. Once the import is complete you will see the newly added sliders
- Step 2 - add the slider to the page. Use the Revolution Slider shortcode that you created earlier. This shortcode can be found by clicking on the Revolution Slider menu item in your dashboard. The shortcode should look like [rev_slider alias] based on the alias you gave the slider when you created it
- Step 3 - add it to the required area in Pages section.
Creating Blog#back to top
Here we will explain you how to setup your blog page with different layouts using Visual Composer.
Blog Post Section
- - please go to Posts section in the main WordPress menu and click Add New;
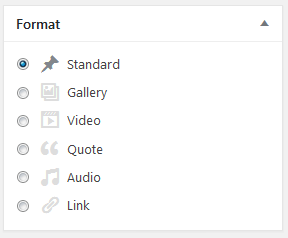
- - select the post format, it can be (standard, image, video, gallery etc.), you can choose it on the right side in Format section;
- - add the content to your post item page, text, featured image and add the short description;
- - to display the short description in blog listing, please ensure the Excerpt area is enabled in the Screen options (please check Screen options button in the top right corner). You will see special text area under the Visual Text one, please add few sentences.

Post Options
- Post Format Layout - settings depends on the fomta you select in Format section.
- Page Layout - select page layout (default, None, Left, Right,).
- Page Title Options - display Page Title default/Yes/No.
- Contact Widget - select to display contact widget or not.
Blog Page
- - when all the items have been created, it's time to create a page, please go to the pages and add a new page;
- - if you want to have a sidebar on the blog, please read "Custom Sidebars Setup" section;
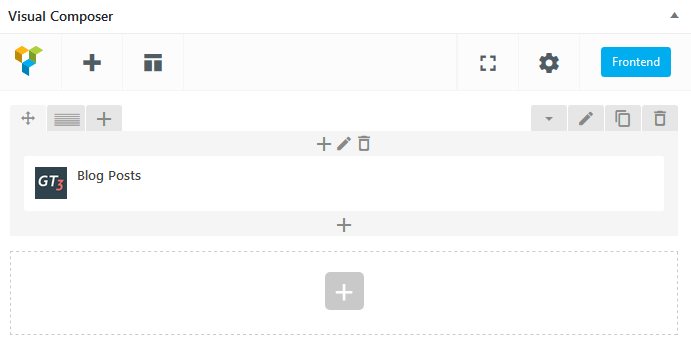
- - once the page is created, please add "Blog Posts" module using Visual Composer.
- - click edit to adjust blog posts settings.
GT3 Photo & Video Gallery#back to top
The plugin is built-in to the theme. Please watch the video how to use the Gallery plugin:
- Step 1 - please go to GT3 Gallery section in the main WordPress menu and set all required settings and options.
- Step 2 - please go to "Media" section, upload images.
- Step 3 - when images are uploaded, it's time to insert gallery to post or page, please go to the pages or posts and add a new item.
- Step 4 - click Add Media button under the title area.
- Step 5 - please select Create Gallery tab in pop up window and select uploaded images.
- Step 7 - once it is done, please save the changes, and preview the page.
Custom Sidebars #back to top
The theme has the option to create unlimited number of custom sidebars, let's have a look how to create a custom sidebar and add it to the page.
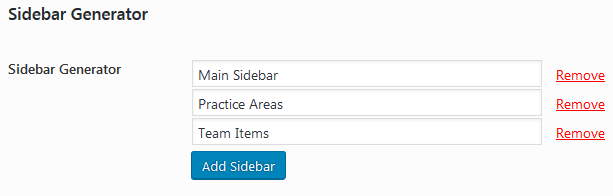
Please go to Theme Options => Sidebars => Sidebar Generator > Add Sidebar. Create as many sidebars as you need. Don't forget to Save settings.
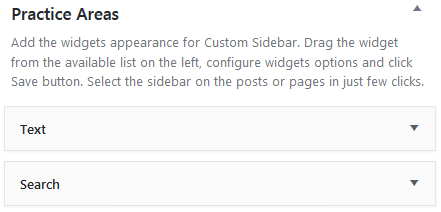
The next step is to add widgets to this custom sidebar. Please go to Appearance => Widgets. You will see a sidebar area on the right. Please drag and drop the widgets you want to display in the sidebar.
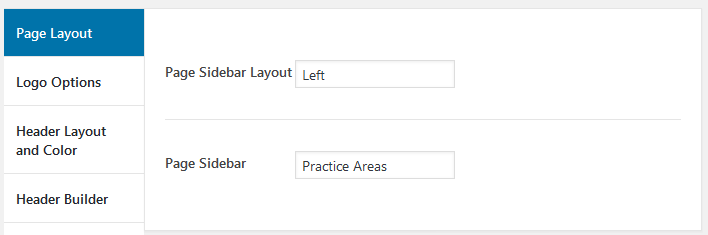
The last step is to add the custom sidebar to the page. Please open the page where you want to display the custom sidebar. You can select teh required one in Page Options=> Page Layout=> Left or Right =>Page Sidebar. Update the page and preview it.
Contact Form 7 Usage #back to top
The plugin is built-in to the theme, it suggests to install Contact Form 7 automatically after theme activation. The first thing you have to do is to create a contact form.
Go to the Contact plugin section. You can see it in the main WordPress menu.
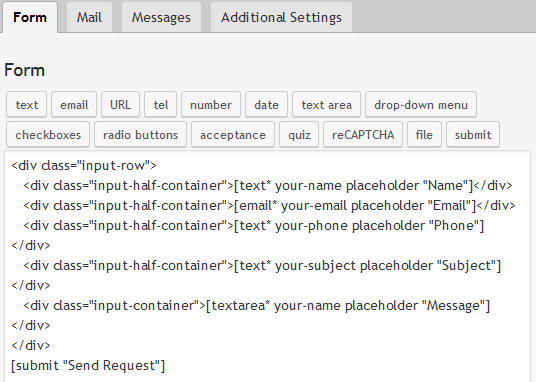
Please click Add New tab, it will redirect you the form field to add special code to the area. Save changes.
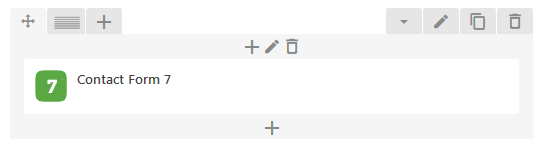
please copy the contact form shortcode, then open the page where you want to add the contact form and add "Contact Form7" element to the page, click edit and put the contact form shortcode into the text area.
Copyright#back to top
To change the copyright, please open the Theme options=> Footer=> Copyright (Terms and Conditions|Privacy Policy © 2017 WIZE. All rights reserved.).
Please replace the text with your own one and select all required options, save the changes. All chnaged details will be reflected on your site.
Translation#back to top
This theme comes with .pot file for the theme, it is located in \wizelaw\core\languages\ folder. And po.mo file for the GT3 Page builder that are located in \plugins\gt3-wize-law-core\languages\ Please follow these steps to translate your theme text:
- Step 1 - please download this software and install it http://www.poedit.net/download.php;
- Step 2 - please open .pot or .po files located in \wizelaw\core\languages\wizelaw.pot and \plugins\gt3-wize-law-core\languages\gt3_builder-en_US.pot using poedit tool and translate the existing text to your own;
- Step 3 - when you save the file, you must name it according to your language;
- Step 4 - upload the file to the required folder on your server, that's all.
Please note that you can also use the special plugins like WPML to do the translation.
Support Desk #back to top
- http://themeforest.net/page/item_support_policy
- http://marketblog.envato.com/releases/item-support-policy-and-functionality-launched/
Please visit our support forum or ask questions via contact form.
Support for items includes:- * Issues arising from using any of the packaged theme features
- * Bug fixing
- * Any other theme-related issues
- * Customization and installation services
- * Support for third party software and plug-ins
- * Make sure your question is a valid Theme Issue and not a customization request.
- * Make sure you have read through the documentation and support forum topics.
- * Try disabling any active plugins to make sure there isn't a conflict with a plugin. And if there is this way you can let us know.
- * If you have customized your theme or use the child one and now have an issue, back-track to make sure you didn't make a mistake.
Files & Sources #back to top
The theme comes with 18 PSD files. Some PSD files can include different pages inside, and can have hidden layers. Please note that the images are not included in the package.